How to Install a WordPress Theme as beautifully as the demo
Are you feeling great after selecting the perfect theme to start your online business? It’s time to install it and turn your dream into real! You are imagining to an easy way to install it beautifully as what you see at the demo. Though you picked up a free theme or a paid one, we recommend you should keep calm because the installation is not easy as a pie if you are not in the right way.
For the free themes at WordPress.org, you get an easier way to install thanks to simple and clean structure which fit the automatic features. Whereas the paid one with more complicated features is daring you with numerous steps. Somehow, you are blurred with what you have seen on your installed theme. Don’t judge yourself, you know, it’s normal. You will get a beautiful theme as the demo if carefully follow our steps as well as the document attached with.
Here are main steps we give as well as some problems you might encounter during the installation process.
Choose type of Installation
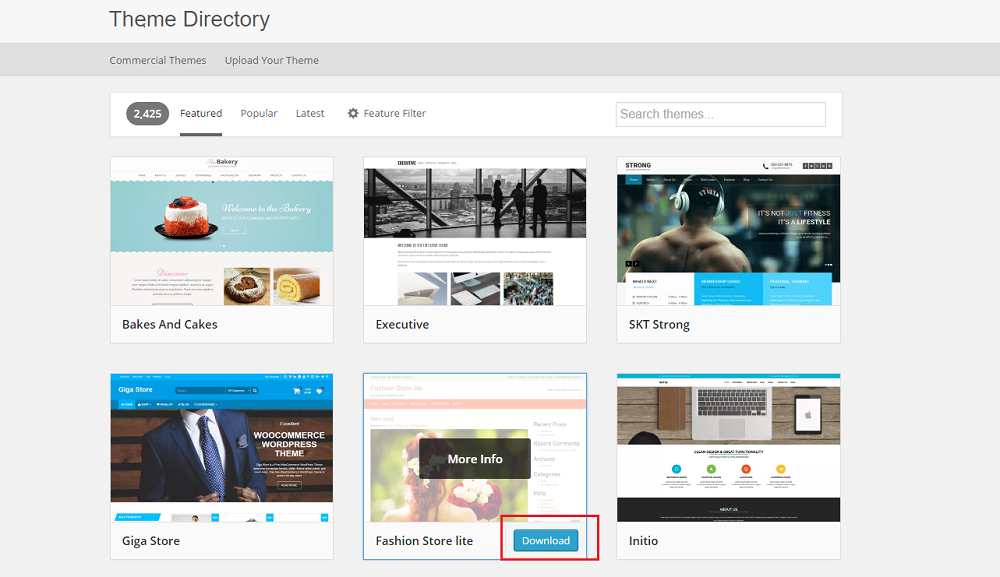
- Free Themes from WordPress.org
Users find easier way to install these themes because almost of them are made with simple and clean structure which fit the automatic features. Also, most of theme producers support you the instruction. In case, you still get some difficulties in installation process. Here are some steps you must follow:
Step 1: Create Homepage
Page => add new => Choose template (home, business page, something like that)
Step 2: Create Blog Page
Page => Add New => choose Blog Default
Step 3: Setting pages
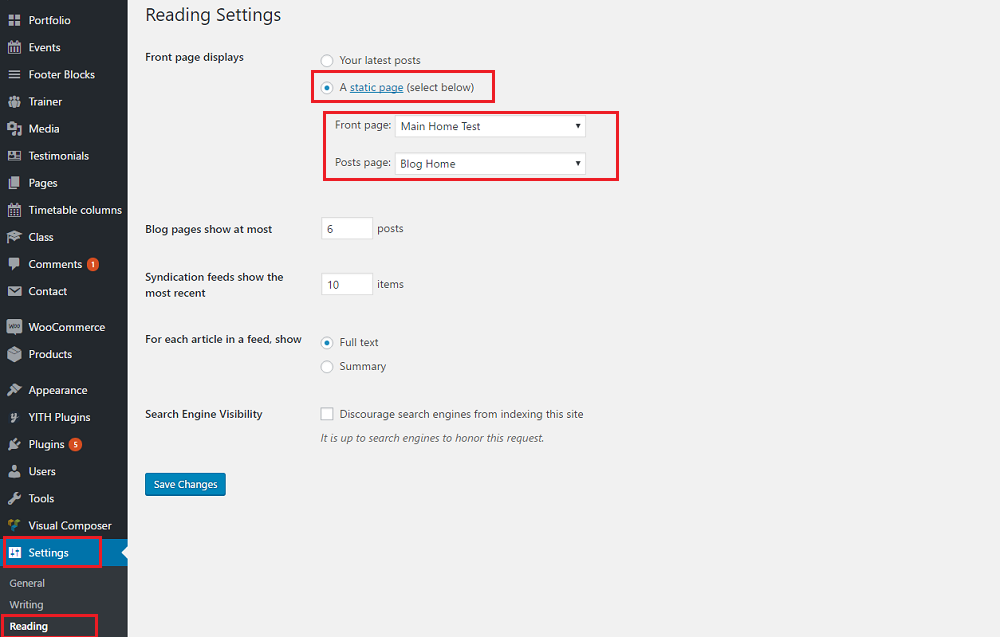
Setting => reading => Choose Static page, Homepage (front page), Posts Page (Blog page) => Save
Check Sidebar and pick up the needed widgets like the template
Step 4: Theme Options
Check and customize main parts.
Compare with the demo and modify
- Premium Themes from Themeforest.com
If you wish for a beautiful and professional website, a paid one should be the first selection. Though the installation can be complicated, the more beautiful and functional features later you experience make all efforts are worth with your effort. Documentation with be your secret to turn your WordPress theme is nice as the demo:
- Get your package
- Extract the zipped Files
- Upload and Install
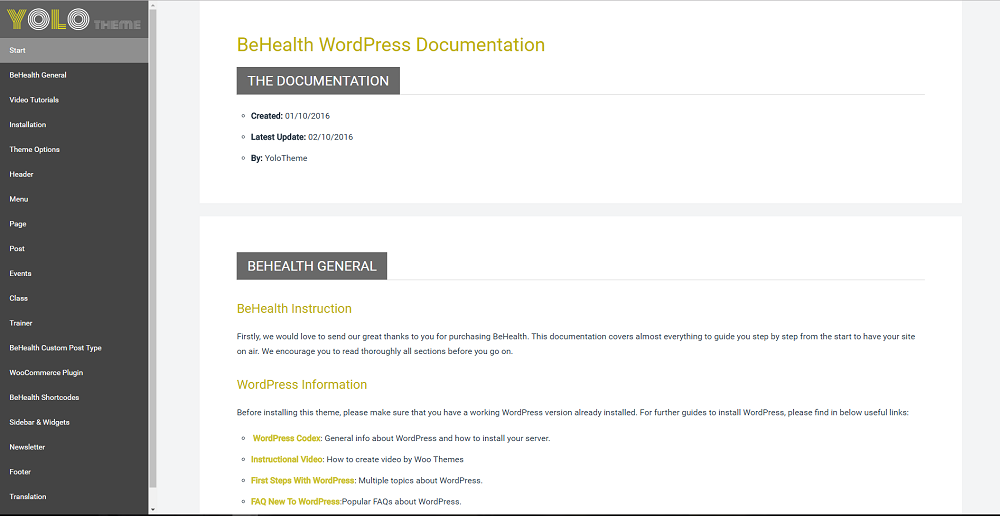
- Follow the document
- Contact supporter when you get problems
“You get what you pay for”. Besides, you get more beautiful, functional and attractive theme, the support later is a great service.
“Be with the paid theme, you never go alone”
Such a great example! Let’s learn how to install with BeHealth – the Multi-Concepts Yoga WordPress theme from Yolotheme.com.
When our theme is purchased successfully from ThemeForest, you will need to download theme package to use. To download the package, please login to your ThemeForest account, navigate to “Downloads”, click the “Download” button in the left side of the theme, choose “All files & documentation” to download our theme package to your computer. The theme package includes:
- Yolo_Theme: Includes yolo-behealth.zip and yolo-behealth-child.
- Document Folder.
- Release_logs file
- Demo Content Folder
Step 1: Upload Zip File and Install main sections
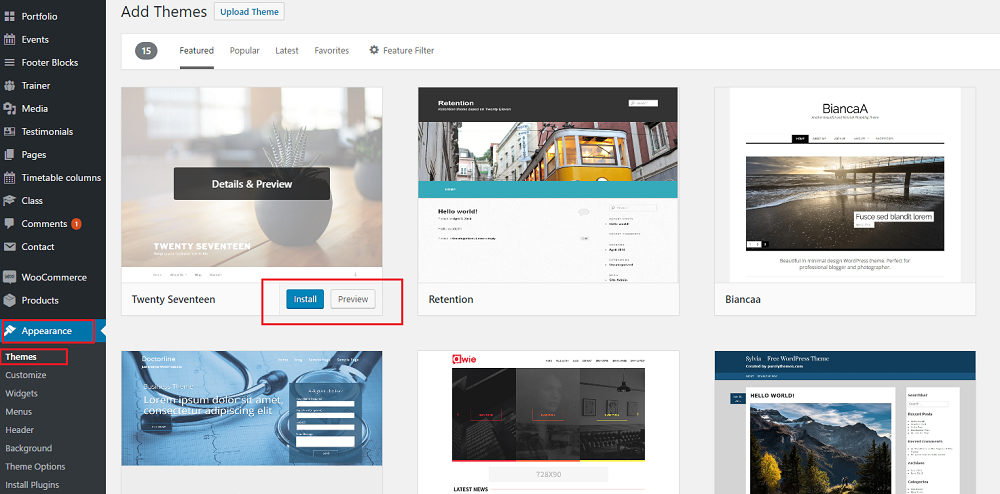
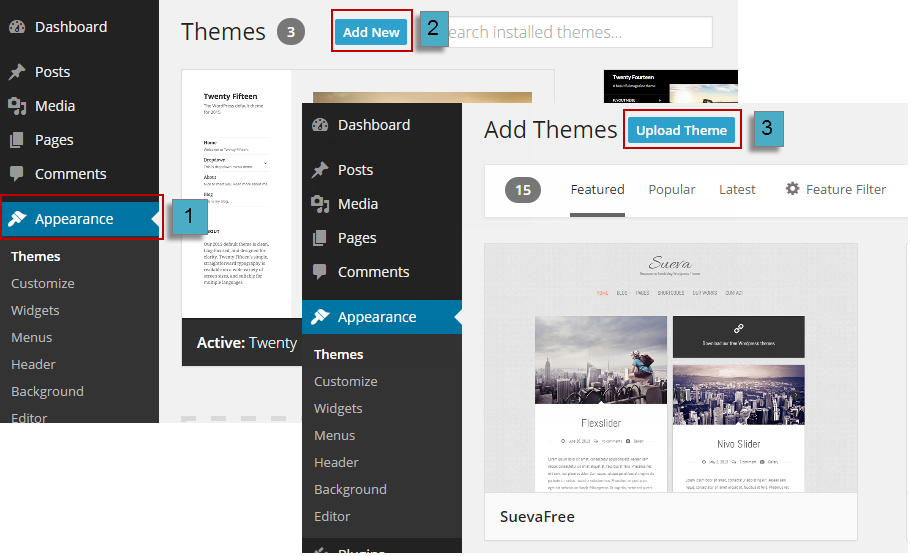
- Login to your WordPress Admin Panel, navigate to Appearance > Themes
- Click Install Themeson the top > hit Upload
- Find yolo-behealth.zipfile on your computer and click Install Now
- Once uploaded, activate the theme. Go to Appearance > Themesand activate it.
- Then you will see a notification message to activate the required & recommended plugins: Contact Form 7, Revolution Slider, WPBakery Visual Composer, etc. Follow the steps to install and activate each plugin.
Step 2: Import All Content Demo
The easiest way to import our demo content is to use our Demo Content Importer. Our importer will give you all pages and posts, several sample sliders, widgets, and more.
- Make sure that you have installed and activated our theme & all plugins before importing.
- Navigate toYolo Settings > Import Demo > Click Install Demo to import all sample data of BeHealth theme. You absolutely select the elements you want to import by checking on Import Post, Import Widget, Import Option and Import Revslider.
- It can take a few minutes to import everything. Please be patient and wait to complete. Once it loads, you will see a Success message below the tabs.
- All are done, you will have a website like our demo site.
Step 3: Get Menus:
Visit Menu Section => Manage locations => tick the reasonable customizations => save changes button
BeHealth offers two types of menu:
- Primary Menu:This is main navigation located in the header.
- Mobile Menu:This is main navigation displayed on mobile device.
Step 4: Install Front page, post page and add widgets
Visit Settings => Reading => Choose a static page => Choose front page (Home) => Post page (blog) => save changes
And now, your site seems to be as similar as the demo up to 90%. Let’s check the widgets and add more for exactly same with your demo! Hope you get fun with this installation.
Our recommendations for better experience,
Experimentally, we recommend you to start with free themes at WordPress.org, and for building a real site, the paid one is our advice! Just for pay once, you get a support for a long time! Furthermore, the greater experience with new functions included push your work be easier! There is nothing better than a kick start compromising for a glory road.

